In some of my previous posts some of you readers have noticed that there has been a change of stairs in my house, and I have received many questions about it. I therefore felt it was about time to write an article about it to share the whole process, and maybe inspire you to do something with your own. It is actually not as difficult as you might think.
Because let´s start with the preconceived ideas I had before I started this project. I view the stairs in a house as a massive construction, so it has to be a long and difficult process to replace right? Just how to remove the old one was to me a mystery.
In other words, I had created some stopping blocks but thankfully it didn´t stop my dreams. So from time to time I browsed around the web looking for great looking stairs, and that is when I came across Drömtrappor that even had a presence in Norway. Well, it doesn´t hurt to at least check…
And guess what, my preconceived stopping blocks where all made up. To replace the stairs was far from as complicated as I thought, and I could even tailor them just the way I wanted it to! This started to look interesting : )
So suddenly I was making mood boards of my dream stairs and working together with Drömtrappor to come up with a plan how we could make something that would fit the house perfectly. What I wanted was:
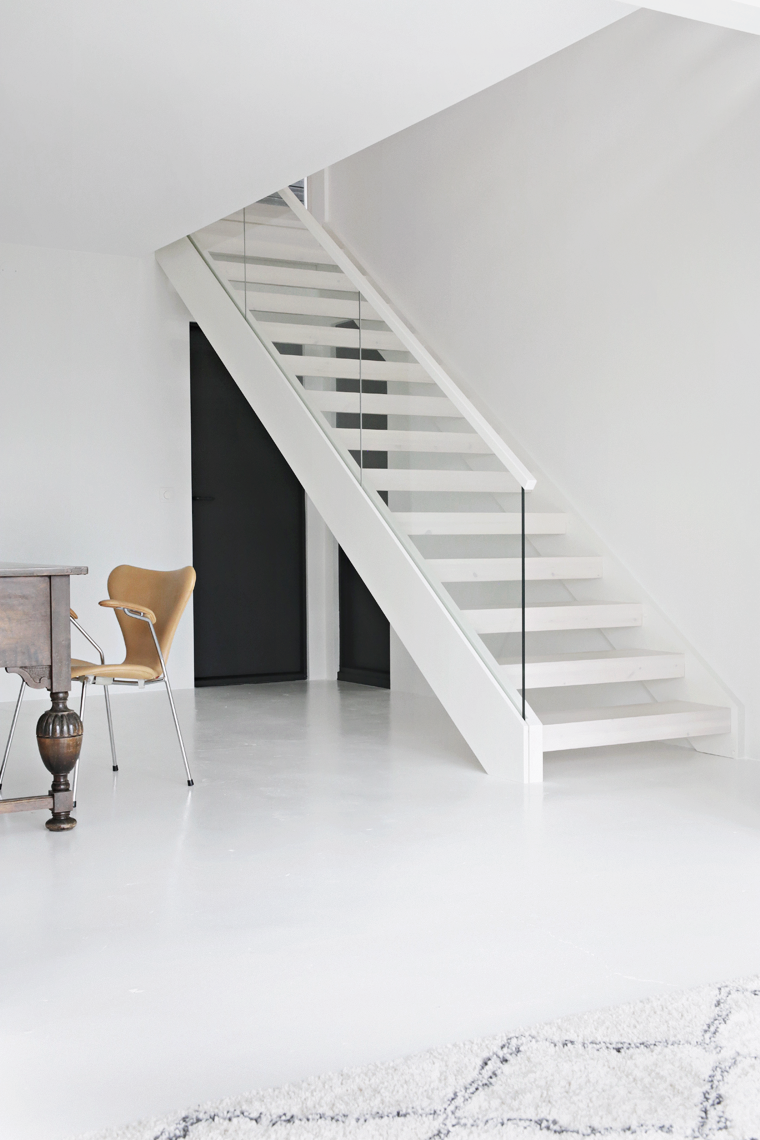
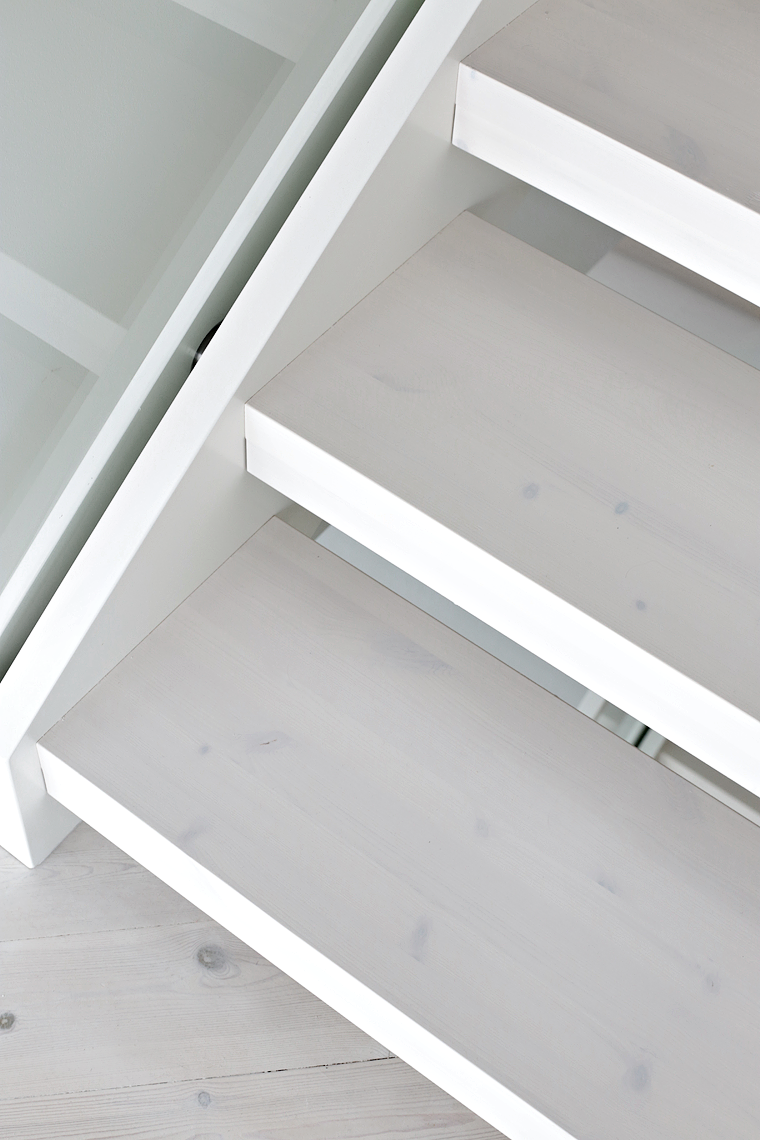
- A clean surface
- No visible fittings / brackets
- Glass! And with as large sections as possible to minimize the divisions between each glass
- Steps that would match the color of the floor
When the answer to these wishes were “Yes, we can do this”, it was time to start. Construction workers came to our house, made the necessary measures and came back to me with a drawing. It looked good, and it was a thumbs up from me to get the stairs and glass made.
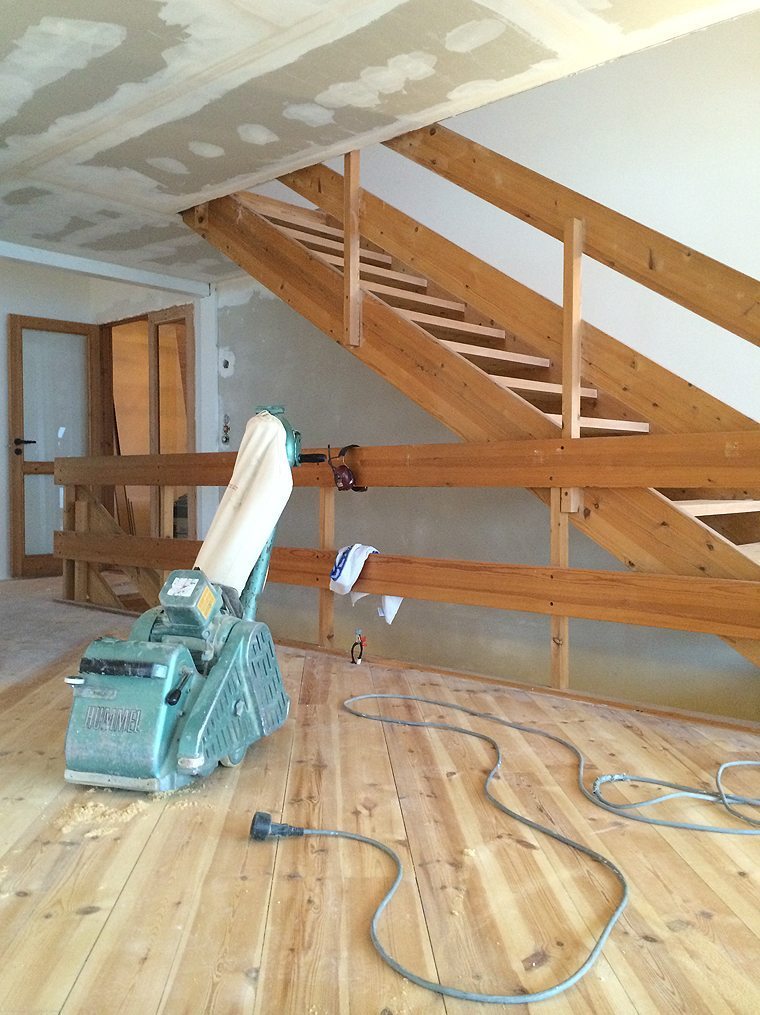
In the beginning of 2016 it was all ready, and it was time to get the old stairs removed. And I who thought this was such a such a difficult job… It took the guys from Drömtrappor only a few hours and I was suddenly without stairs.
In most cases a new set of stairs can be installed right away, but since we needed to fix the wall behind the stairs because of the renovation we have done earlier, the plan was to have the guys come back over the weekend so I would have the time to have it done. For those of you now wondering how I was supposed to get to my bedroom that weekend, I was supplied with a handy temporary stairs.
On the Monday after they were back on site, and the construction phase could begin. And this is when, to my big surprise, I could see first hand how wrong I was about replacing the stairs.
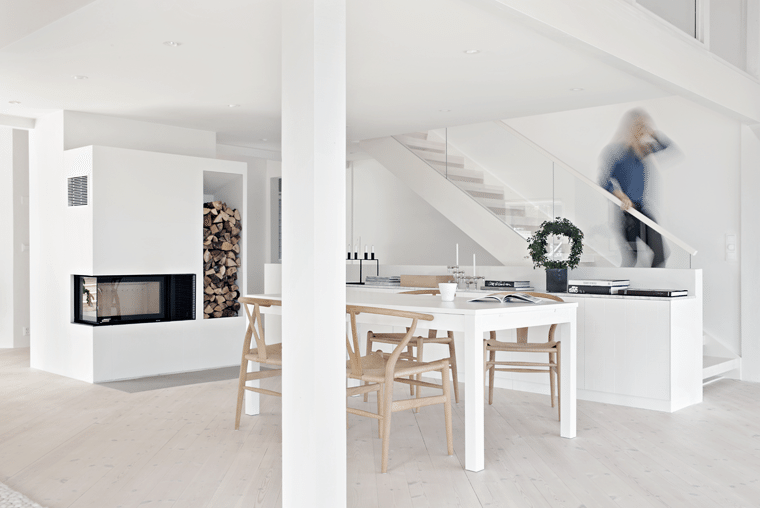
For the two set of stairs it took the workers about 4-5 hours to mount them! I had in under one day gone from the two holes in my home to two stylish and clean stairs, just the way I wanted them.
So if you, like me, have some stairs that are due for replacing I can assure you that the process might not be as difficult as it´s easy to believe. The actual job of dismantling the old and assembling the new stairs don´t take more than one to two days, and as for the type of stairs and the style, there are so many choices so you are sure to find one you like. If you like the design I ended up with, there is no problem to have that ordered at Drömtrappor – they have called it STYLIZIMO.
What do you think? Do you have plans to renovate your stairs as well?
HERE YOU CAN SEE THE STAIRS THAT WE HAD BEFORE:
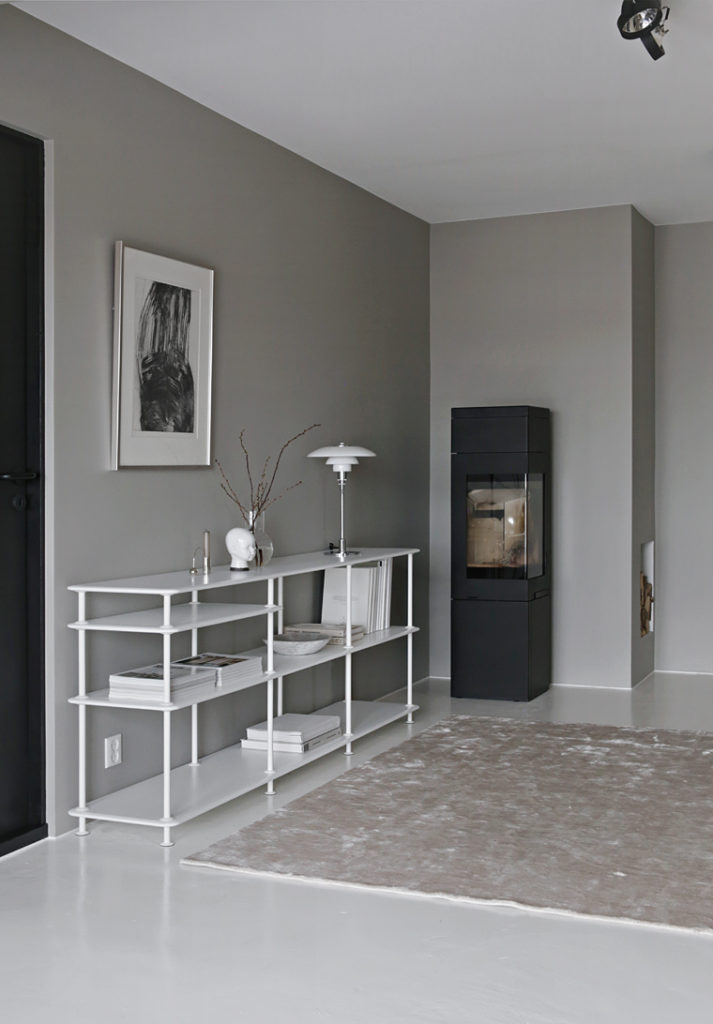
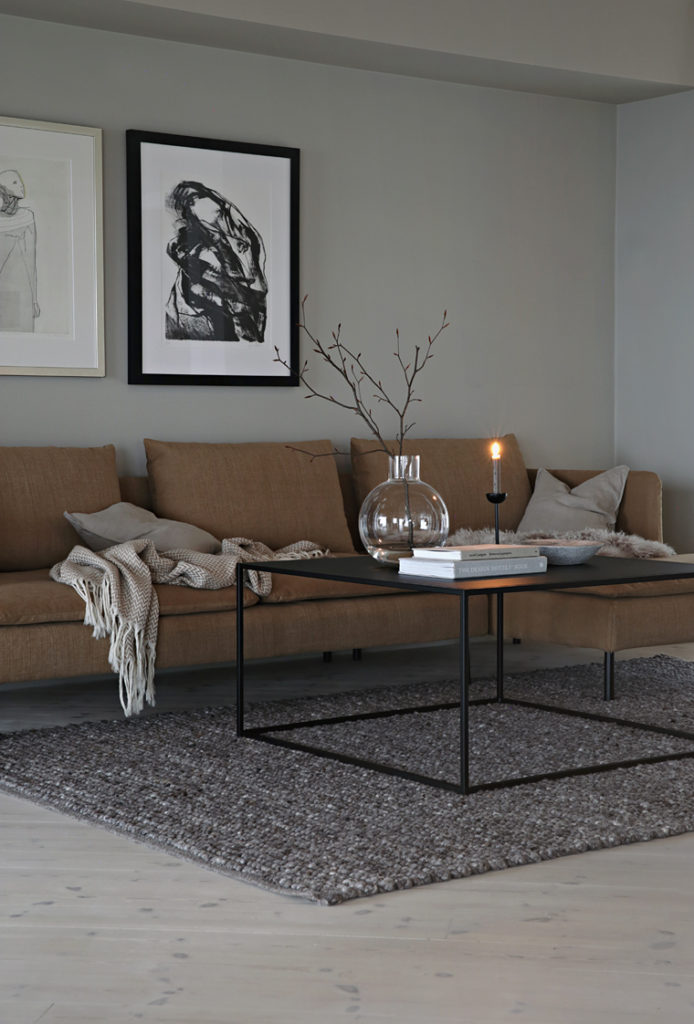
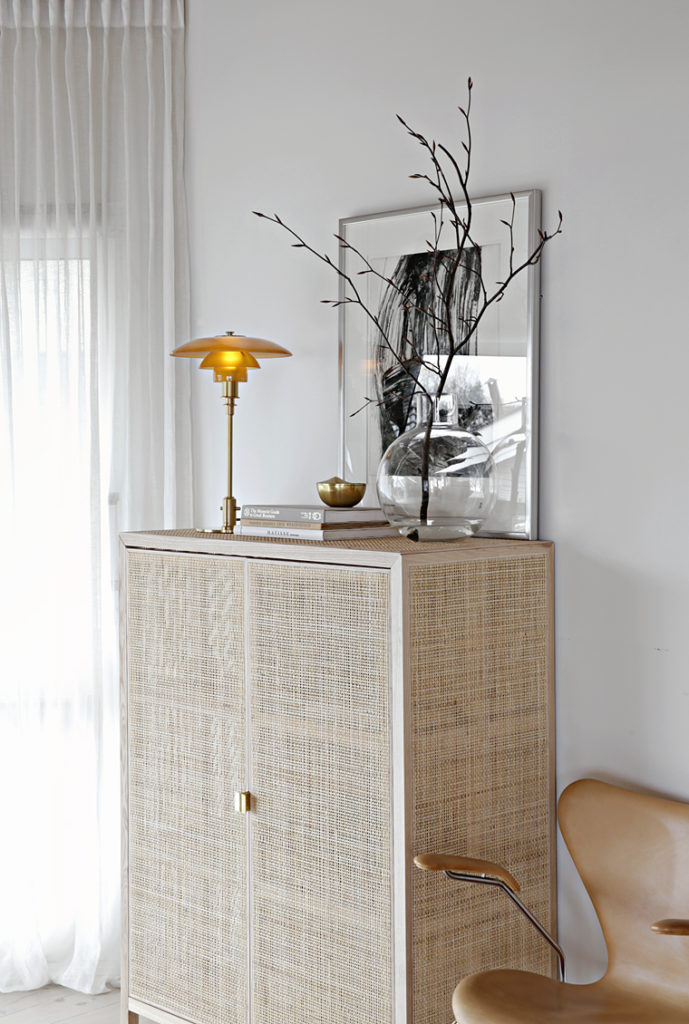
Images: Nina Holst
Such beautiful stairs!!x
Millie x
Queenmillie.Blogspot.Com
Such a difference, looks lovely!!
Trappen er virkelig helt nydelig!
Men hvordan kommer man til så man får vasket glasset på utsiden av trappen hele veien ned?
Takk for det, Marianne! Vi er kjempe fornøyd med hvor fint det ble 🙂
Vi har en glippe på 10 cm mellom glass og vegg slik at man kommer til med en vaskeklut. Dette er absolutt et must!
Nina